
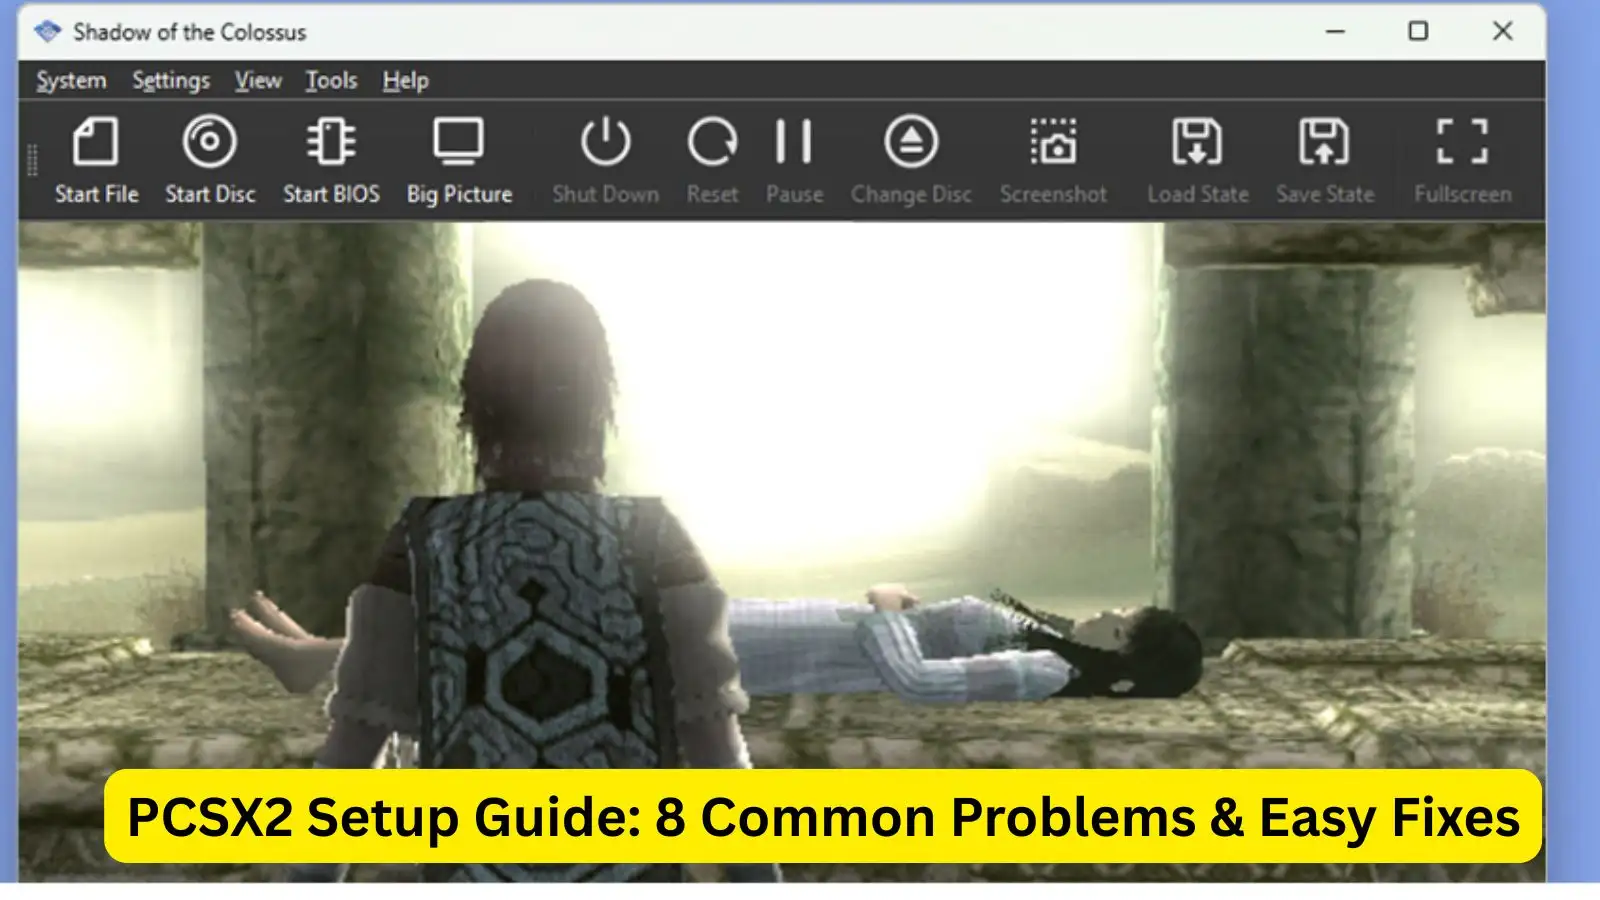
PCSX2 is the most mature PlayStation 2 emulator available — years of development mean it runs a huge portion of the PS2 library with excellent compatibility. This guide walks you through downloading, installing, configuring, and optimizing PCSX2 so you can play your PS2 discs or ISOs on a modern PC with better graphics and convenience than the original hardware. Short paragraphs + practical bullets make this easy to follow.
Quick overview — what PCSX2 is and why it matters
- What it does: PCSX2 emulates the PlayStation 2’s hardware so you can run PS2 games on a PC.
Emulation unlocks features the original console couldn’t offer (higher resolutions, quick saves, mods). - Who should use it: Anyone with a reasonably modern PC who wants to replay PS2 classics or archive their own game discs.
Low-end laptops and very old machines may struggle — PCSX2 benefits from a fast CPU and decent GPU. - Notable change: The project had a major 2.0 rewrite (menus and internals) that modernized the app; if you’re on an older 1.x build, update for the latest UI and features.
Minimum practical requirements (not strict specs)
- CPU: A recent quad-core or better is recommended — single-thread performance matters for many PS2 titles.
Emulation is CPU-heavy, so faster cores give smoother gameplay. - GPU: Any modern integrated GPU can run simpler games; a dedicated GPU helps for high-resolution upscaling.
If you plan to run 1080p or 4K upscales, a mid-range GPU is advised. - Memory & storage: 8GB RAM is a practical baseline; SSDs reduce load times when using ISOs.
Keep your game ISOs and PCSX2 folder on an internal drive for best performance.
Where to download PCSX2 and which build to pick
- Official source: Always download from the PCSX2 website (use the Latest Stable button).
Avoid shady sites — official downloads are safer and include release notes. - Installer vs Portable:
- Installer: Standard Windows install with start-menu entries and easy uninstallation. Good for most users.
- Portable: Extract anywhere (Documents, Downloads, or external drive). Great if you want a self-contained folder you can move or delete later.
Installing PCSX2 (step-by-step)
- Installer method:
- Run the EXE; Windows SmartScreen may warn you — choose More info → Run anyway if you trust the download.
- Pick Standard Installation unless you specifically want a portable install.
- Use the default install location and continue through the wizard. Create a desktop shortcut if you like.
- Click Install, then Finish when complete.
- Portable method:
- Extract the ZIP to your chosen folder. Documents or a dedicated emulators folder is recommended.
- Launch the EXE from that folder. To uninstall, delete the folder.
PS2 BIOS — legal & practical notes
- You need a PS2 BIOS to boot games. The BIOS is copyrighted; the legal way to obtain it is to dump it from a PS2 you own.
Downloading BIOS files from the web is legally gray and may be illegal in your jurisdiction. - Where to place it: Put BIOS files in PCSX2’s BIOS folder (PCSX2 creates one in Documents on first run).
The First Time Configuration wizard will detect available BIOS images automatically.
First-time configuration (quick walkthrough)
- Launch PCSX2 and follow the First Time Configuration wizard.
Default dark theme and auto-updates are usually fine. - BIOS Image: Browse if PCSX2 doesn’t show your BIOS. Choose the region matching your games (e.g., USA for NTSC-U).
- Game directories: Optionally add the folder where you store ISOs so PCSX2 can populate a game list.
- Controller setup: You can map keyboard or auto-map a gamepad. If you have a controller, choose Automatic Mapping → Gamepad to let PCSX2 assign reasonable defaults.
Controller setup — keyboard vs gamepad
- Keyboard: Usable for menus and some games, but PS2 games were designed for analog sticks — keyboard is often limiting.
- Gamepad: Recommended — most USB Xbox, DualShock (with drivers), and many third-party pads work.
- If auto-mapping fails, open Settings → Controllers and manually click each button to assign it.
- If Windows doesn’t detect the pad, troubleshoot drivers first (e.g., Steam Input, DS4Windows for DualShock).
- Mapping tips: Right-click a mapped button to clear it; test in-game to ensure analog sticks are responsive.
Loading games: discs vs ISOs
- Real disc: Put your game DVD in the drive, then System → Start Disc. Expect the PS2 BIOS boot sequence to run.
- Note: playing from a DVD drive is slower and less reliable than an ISO; ripping to ISO is recommended.
- ISO (recommended): PCSX2 supports many image formats: BIN/CUE, ISO, CHD, CSO and a few others.
- If your game is compressed (7z, rar), extract it with 7-Zip first. CHD can be used directly.
- To load a single ISO: System → Start File and pick the ISO (or CUE for BIN/CUE sets).
- To maintain a library: Settings → Game List → Add Game Directory, then Scan for Games. Double-click any listed title to start.
Supported file formats & extraction
- Common supported: .iso, .bin/.cue, .chd, .cs0, .zso, .elf, etc.
- Compressed archives: Use 7-Zip to extract .7z or .rar. Don’t try to run a compressed archive directly.
- Proprietary formats: Formats like NRG, UIF, CDI may require special tools to convert or rip; it’s often easier to find/choose a supported image format.
Graphics: upscaling, anisotropic filtering, and hotkeys
- Internal resolution: By default, PS2 resolution is low; increasing the internal resolution gives much sharper visuals.
- Settings → Graphics → Internal Resolution — try 2x, 3x, or higher depending on your CPU/GPU.
- Anisotropic filtering: Improves texture clarity at oblique angles; 8x–16x looks best on many titles.
- Fast toggles: Assign Increase/Decrease Resolution Scale (e.g., Page Up / Page Down) in Settings → Hotkeys to test on-the-fly.
- 3x is roughly 720p; 5x approaches 1080p; higher scales require more CPU/GPU power.
Save systems: in-game saves vs save states
- In-game saves: Use the game’s native save points — these are the most compatible and expected way to save.
- Save states: Instant snapshots of emulator memory — extremely useful for retrying a tough section.
- Keyboard shortcuts: Save state = F1, Load state = F3, Next slot = F2, Prev slot = Shift+F2.
- You can keep both: in-game saves for normal progress and save states as backups or quick retry points.
Useful hotkeys & features
- Fast-forward: Press Tab to speed up emulation (helpful for long cutscenes). Adjust multiplier in Settings → Emulation.
- Screenshots: Press F8 to capture PNGs saved to Documents\PCSX2\snaps.
- Fullscreen: Alt+Enter or double-click the screen to toggle fullscreen.
Troubleshooting common problems
- Game stuck at loading screen:
- Test another game to rule out file-specific corruption.
- Ensure the game image is a supported format and fully extracted.
- Try different renderer or plugin settings; some games need tweaks.
- Black screen but audio plays:
- Try a different BIOS region (match the game), or switch Settings → Graphics → Renderer (OpenGL, Direct3D, or Software) to see if the renderer is the issue.
- If audio stops too, the game might be crashing — try different settings or the PCSX2 compatibility list for game-specific tips.
- Controller not detected: Confirm Windows sees the device; update drivers or use compatibility tools (e.g., DS4Windows for DualShock).
Dumping your own PS2 discs to ISO (backup method)
- Why dump: Running ISOs is faster and more reliable than playing from a physical disc. Also useful for preservation and backups of your legally owned games.
- Simple method (RetroArch example):
- Install RetroArch and open it. Use the Dump Disc utility and select your DVD drive.
- Wait while RetroArch reads the disc (5–20 minutes depending on drive speed).
- RetroArch outputs a BIN + CUE (or similar) in its Downloads folder — rename both files and edit the CUE to match the new name.
- Use that BIN/CUE or convert to ISO/CHD for PCSX2 use.
Where PCSX2 keeps your data
- Documents\PCSX2 (created automatically) contains:
- memcards — in-game saves visible at the PS2 title screen.
- sstates — save states created by the emulator.
- snaps — screenshots produced by F8.
- Backup tip: Copy memcards and sstates if you move PCs or want cloud backups.
Final tips & legal reminder
- Performance tuning: If a title runs poorly, lower internal resolution or try different renderers. Some games are CPU-bound and need clock-speed focused tweaks.
- Compatibility research: If a particular game is problematic, search the PCSX2 forums or compatibility lists for per-game settings — many titles have recommended tweaks.
- Legality: Emulation software itself is legal, but BIOS files and game ROMs/ISOs are copyrighted. The safe, legal route is to use BIOS and discs you own and to create your own backups.
PCSX2 opens up decades of PS2 gaming with modern conveniences — higher resolution, save states, and easy backups. Follow this guide to get the emulator installed, your controller mapped, games loaded, and graphics tuned. If you want, I can now: produce a short checklist for setup, create per-game optimization notes for specific titles, or write a step-by-step guide to dump a PS2 disc with screenshots — tell me which you’d like next.
